- SHOP ONLINE
- AT THE GARDEN CENTRE
- BE INSPIRED
- LANDSCAPE SOLUTIONS
- EMPLOYMENT
- ABOUT US
Menu
- SHOP ONLINE
- AT THE GARDEN CENTRE
- BE INSPIRED
- LANDSCAPE SOLUTIONS
- EMPLOYMENT
- ABOUT US

Spring feels far away, but the ideal time of year for starting seeds indoors is right around the corner. If you’ve never taken on this fun, cost-effective, and rewarding project, why not start this year? I can all but guarantee that taking care of seedlings will give you a new level of appreciation for plants—and yes, you might get strangely attached to your seedlings. Here’s a beginner’s guide to starting seeds indoors.
There’s no one-size-fits-all answer for when to start seeds since each plant requires a different amount of time to grow. On your seed packet, this will be indicated as “days to maturity”. The trick to timing your seeds is comparing their days to maturity to the last expected frost of the year. You want to start them long enough before the last frost that they’ll get a great headstart to the season, but not so far in advance that the plant will suffer from an upbringing in less-than-ideal indoor conditions.
The last frost in Guelph happens during the last full moon in May. Those vegetables that take a long time to develop, like bell pepper and eggplant, can be started indoors up to 10 weeks before the last frost date, so start your seeds in early March. However, if you’re starting that far in advance, I recommend getting acquainted with grow lamps—the sunlight hours in March are still pretty short, and light-deprived veggies won’t grow to be very tasty.
For most flowering annuals, perennials and edible crops, a great rule of thumb is to start about six weeks before the last frost. For our region, that would be in early April. This is a great amount of time to give your plants a head start, and they’ll be at a good age to transition to the garden once the risk of frost has passed.
To start seeds, you’ll first need to buy a few. That part is pretty obvious, right? However, buying seeds isn’t as straightforward as grabbing the first couple of packets you see. Before you choose seeds, you’ll have to think about the different areas of your garden, your goals with each space, and the plants and varieties that will suit your conditions and expectations. A common beginner’s woe is purchasing seeds based on how much they like the flower on the package, and realizing a month too late that the garden has completely wrong conditions for sustaining the seedling.

One way to do it is to take inventory of all the growing space you have to work with. Jot down the different spaces, the approximate sizes of the areas, the directions they face, and how much sun exposure each area gets. Think about how you want the garden to look at the height of the season; do you want a thriving garden of ripe veggies? Perhaps a flower garden with taller flowers and foliage plants providing a backdrop for shorter ones? Or maybe you just want to cover up a bare patch in the deep shade? This kind of forethought will set you up for a successful season.
When you arrive at our garden centre, choose seeds to fill your requirements instead of choosing seeds that look nice on the package. Let’s be honest, they’re all beautiful in the picture! Yet, when the season is in full swing, a healthy group of ordinary-looking hostas will look much nicer in that bare patch than a mat of weak, flowerless zinnias barely clinging to life.
So what if you’re not sure how to choose plants for your conditions? You’re in luck — that’s what we’re here for! As long as you’ve taken stock of your growing conditions, our team can work with you to pick out some awesome seeds that you might not have considered on your own.
Alright, so now you have your seeds, but don’t leave the building just yet! Would you take home a hamster without a cage, food, and shavings, and assume you can just keep it in a box with some leaves from outside? I hope not; that would be one miserable Hammie.
Proper seed starting equipment is just as vital. If you expect great results by filling a few egg cartons with garden soil and leaving them on the windowsill, I’m sorry to say you’ll be disappointed. Seedlings are baby plants, and how you treat them early in life will really show by the time they mature. Just for fun, I recommend you take the Pepsi challenge with plants that were grown with the proper equipment and a few seeds grown in a carton of old soil. You’ll be blown away by the difference.
I keep using the word “equipment”, which makes it sound like this is a very high-tech endeavor. It’s not. By proper equipment, I mean:
That’s really all you need! If you’re intent on starting seeds indoors without grow lights or fertilizer, it is possible to go without these things. Just know that taking shortcuts at this stage will impact the quality of your mature plants.

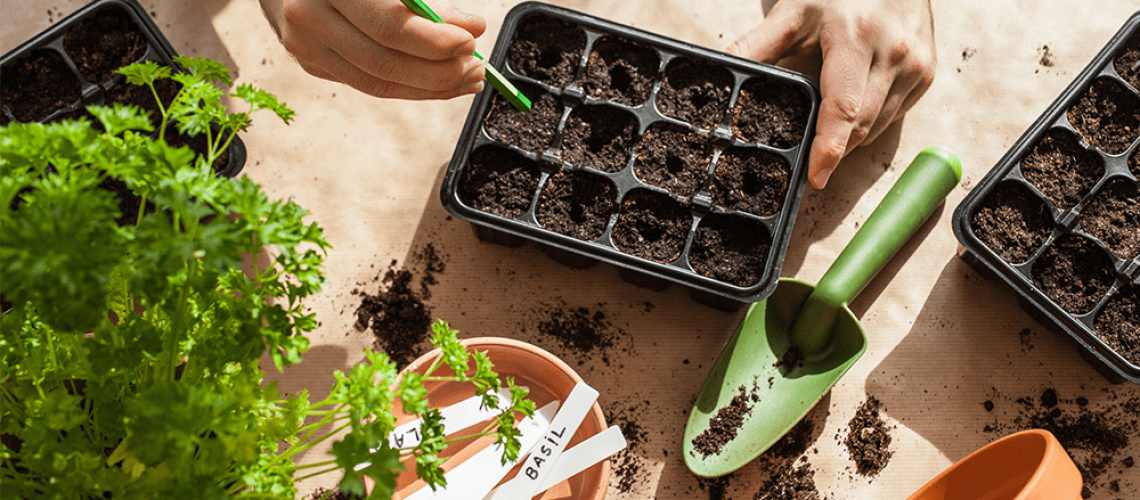
When you arrive home with your seeds and supplies, the fun begins! Place your seedling tray next to the brightest window in your house and prepare the tray according to package directions. Don’t throw out that plastic lid!
Next, sow your seeds as directed on the packets. Make use of those labels, so you remember which plants you planted in which pod. I recommend planting more of each variety than you need—there’s a good chance some won’t make it, and it’s better to have too many than too few.
Pour water directly into the tray, adding a little to each corner in rotation. This helps water soak in through the bottom of each pod and distribute evenly, so none of them get too waterlogged. By watering from the bottom, you also let the soil soak up the water without washing away the seeds. This method lets you control how much water you’re adding—you’ll know you’ve got enough when the top of the soil is soft and moist. Seeds need lots of moisture to germinate, but too much will drown them and invite mold.
Now, loosely place the plastic lid back on the tray. The lid lets light in while retaining moisture and humidity inside. Leave them alone for a few days, checking daily to make sure the soil is still moist. When you start seeing green, you can set the cover aside. It’s time to bring on the grow light!
For the beginner, a grow light that is easy to adjust is a must. The light will need to move up as your plants grow. To start, keep the light about four inches from the soil surface. As your seedlings grow, move the light so the plants are at least two inches but not more than four inches away. Leave the light on for 14-16 hours daily—for consistency, a cheap timer will serve you well.
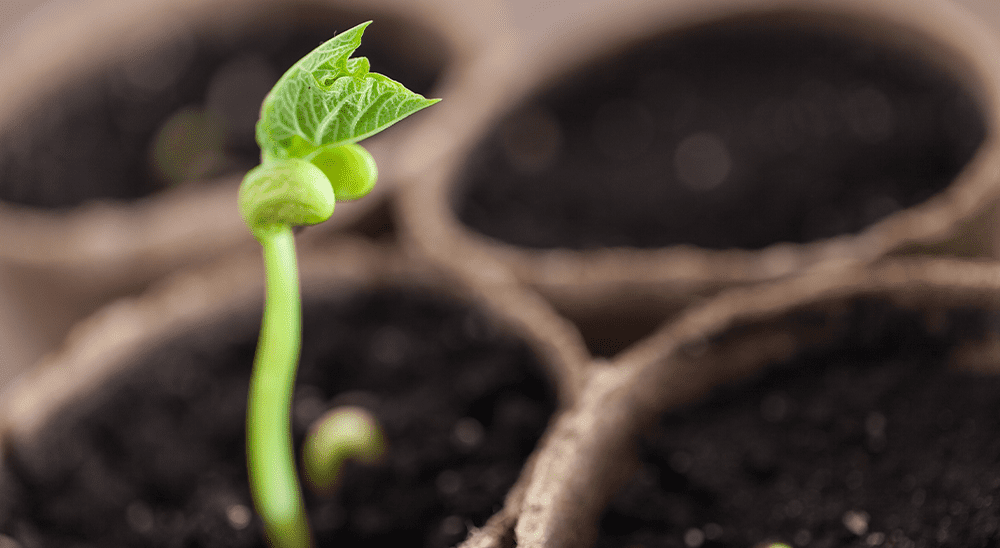
The first “leaves” you see are called “cotyledons,” and while they are adorable and exciting, they’re not true leaves. The next set of leaves your seedlings will set are their true leaves, which look a lot more like those of the mature plant. Start offering your seedlings some water-soluble fertilizer once they set their second set of leaves. Continue to water them from below, especially when fertilizing.

Believe it or not, there’s a sad part. After you’ve nurtured your tiny green babies for a few weeks, there will come a time when you’ll need to cull, or “thin out”, the weakest seedlings to give the strongest ones room to grow. Use a clean, disinfected pair of scissors to snip the weakest seedlings below the cotyledons. This is especially important for pods containing multiple seedlings. I know, I know—you want to save them all. Unfortunately, doing this will only drag them all down.
When your seed babies are finally old enough to go out into the world, it’s time to begin the process of hardening off. Even if the weather is nice, the outdoors is a completely different environment for your baby plants, and that will call for a gentle adjustment period.
After the risk of frost, bring your tray out and leave it in the shade for about two hours. Then, bring it back. Repeat this for a few days, and on the third day, give them two hours in the sun. Repeat the process daily, adding another hour every day. When your plants are finally spending eight hours outside, they’re ready to move out for good. They grow up so fast, don’t they?
Plant each seedling, spaced apart as recommended on the seed packets. Now it’s time for the next chapter of your journey together. It’s a little emotional, but don’t cry on your plants. The salt isn’t good for them.
If you’re ready to take “plant parenthood” seriously and start seeding indoors, visit us at Royal City Nursery. You’ll find a great selection of high-quality seeds, grow lights, and everything else you need to take care of your plant babies. If you ask nicely, we’ll even lend you a tissue for those “proud plant parent” tears.
HOURS
JOIN US YEAR-ROUND!
Hours of Inspiration
Monday to Friday: 9am – 6pm
Saturday: 9am – 5pm
Sunday: 10am – 5pm
BE INSPIRED
Sign up for our E-Newsletter to receive garden tips, landscaping advice and more, delivered right to your inbox.
Sign up today!
Find Us