

For most gardeners, seed starting is an annual tradition that would be unthinkable to skip. There’s just nothing like watching a plant’s entire life cycle from start to finish! With that said, the recent influx of new gardeners (welcome, everyone!) means that seed starting supplies have been a little limited in Ontario this year—but no worries, there’s a DIY solution for that. Here’s how to start your seeds at home without any of the handy store-bought kits!
If you can’t get your hands on one of those handy seed starter kits, don’t worry—there’s a sneaky DIY version you can use instead! Egg cartons have always had a reputation for being great little mini pots for planting seedlings, but by far the best egg cartons to use are the plastic omega-3 egg cartons. These plastic ones have that super-handy inner plastic dome that mimics the plastic dome on the storebought seed starters—it’s the perfect DIY fix for keeping warmth and humidity around your seeds!
To try this trick, all you need to do is cut off the top lid of an empty plastic egg carton, leaving the inner dome intact. Use a small nail or thumbtack to poke a hole in the bottom of each egg “cup” for drainage.
In a separate container, combine seed starting mix with just enough water that the medium holds its shape when formed into a ball. Fill each of the cups with a little bit of the moistened seed starting mix and gently plant your seeds. Put the dome layer back on and leave your DIY seed starter in a warm spot!

Now that you’ve got a planting vessel figured out for your new baby plants, what should you do if you can’t track down any seed starting mix?
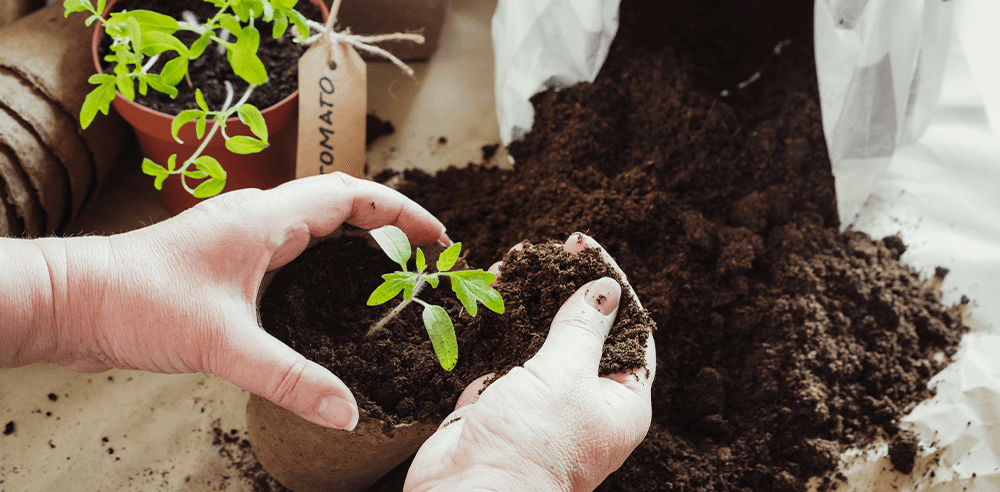
Here’s a big tip: don’t opt for regular potting soil or garden dirt. Your brand new seeds need a planting medium that is light, easy-draining, retains moisture well, and isn’t teeming with microbes or excessive nutrients. In fact, this very potting medium is really easy (and inexpensive!) to make yourself.
Here’s a DIY seed starting mix recipe that will make you feel like a master gardener—even though it’s just three ingredients and takes less than a minute to make. Just take an equal amount of peat moss, vermiculite, and perlite and add it to a bucket or lidded container. Put the lid on, and shake it up. Done!
Peat moss is an absolute winner when it comes to successfully starting seeds for several reasons:
Peat moss is sterile: This material has a natural antiseptic quality that inhibits the growth of harmful bacteria that can cause your seedlings to die prematurely.
Peat moss promotes airflow: The texture of peat moss is perfect for allowing oxygen to pass through, which is essential for those early stages of germination and rooting.
Peat moss drains quickly: Peat allows water to pass through easily, and with the addition of vermiculite and perlite, the mixture drains even faster.
Peat moss won’t weigh down seedlings: Thanks to its feather-light weight and fine texture, tiny shoots have no trouble sprouting from peat moss!
Peat moss is low in fertility: That might sound like a bad thing from a growing perspective, but when starting seeds, it’s actually better to use a less-fertile environment. Remember, seeds contain all the nutrients the seedling needs until it sprouts its first true leaves. Until then, extra nutrients can actually cause more problems for young plants.
We carry an abundance of peat moss at Royal City Nursery, so I recommend stocking up! This amazing material is great for starting your seeds and is so handy for more gardening tasks further into the season, especially if you’re growing plants that prefer acidic soils.
Once the seedings have germinated and you notice some green poking out, move your DIY seed starter into a sunny location near a south-facing window. Check the soil daily and add a little water whenever it begins to dry out—an eyedropper can be helpful for this. Once the seedings start to touch the top of the plastic dome layer, you can remove the dome and let your seedlings grow in the open air!
Don’t forget to thin out your seedlings at this stage; there’s not a lot of room in each cup, so clipping out the weaker seedling in each cup will ensure the stronger seedling has more room to grow.

Before long, your seedlings will start to sprout their true leaves. While some of your seedlings may remain small, you may have some more vigorous growers that are ready to graduate from your DIY seed starting planter into larger containers. They grow up so fast!
At this stage, think of your seedlings as university students—they’re not kids anymore, but they’re still not ready for the real world. These larger containers are like their dorm rooms; small, temporary houses that they’ll live in for a short period before they’re ready to enter the workforce…I mean, your garden.
These “intermediate” containers should be pretty small; a 3-inch or 4-inch pot is plenty for most plants. (Plastic yogurt containers with holes poked in the bottom work great!) Carefully lift your recently-watered seedlings from the DIY planter into a new container partially filled with planting mix, backfill with more planting mix, and water. These containers will allow your seedlings to grow and develop more leaves and larger roots as you “harden them off” by exposing them to the outdoors in gradually longer bursts over several weeks. Seedlings that remain your DIY seed starter should also be hardened off when they’re ready for planting.
Once your seedlings are comfortably sitting overnight outdoors and the risk of frost has passed, you can use transplant your seedlings into their final homes in your garden beds, containers, or hanging baskets. Now you can watch with pride as those plants you raised from little seeds finally reach their fullest potential!