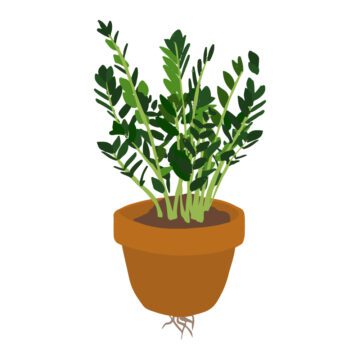
Learning how to repot a plant is easy with a few simple steps. As your plant grows, it will need more space for water, nutrients, and somewhere to stretch its roots. We’ve put together a comprehensive guide to help you determine if you need to repot a houseplant, how to set up, and how to get your plant in a new, happy home.
Does Your Plant Need a New Pot?
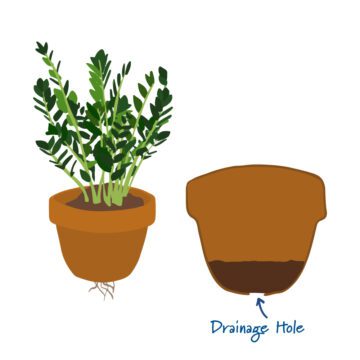
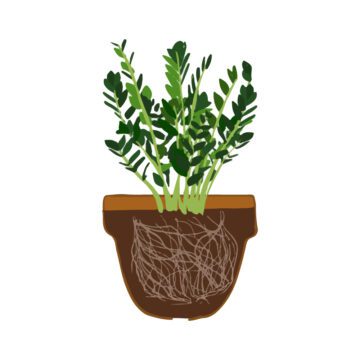
Plants are pretty good communicators and will signal that they need a new home in a few different ways. You may notice that your plant is soaking up water faster than expected, that it’s lifting out of the pot, or that the roots are growing out of the drainage holes. These indicate that the plant needs more room to grow and spread its roots! Be sure to only replant once a year at most to avoid stressing your plant.
Timing is Everything!
Your plants go through an annual cycle of growth and dormancy that falls in line with the seasons, and repotting can interrupt that cycle. We recommend repotting your houseplants around the same time your garden starts to wake up for spring, from the middle to the end of March until early April. That way, your plant has the entire growing season to re-establish its roots and get nice and cozy in its new home before the next dormancy period in the winter.
Prepare Your Space and Your Plant
Be sure to thoroughly water your plant a day or two before you plan to repot it; this will make it a little easier to remove from the pot and reduce the chances of shocking or damaging your plant.
When selecting a new pot, keep in mind that the new one should only be 1-2 inches wider than the original pot. Repotting is a messy business, so we recommend placing down newspaper, cardboard, a rubber shoe mat, or any protective surface you have available. Collect all of your supplies, including gloves, a trowel, a sharp knife, your plant, and its new pot. We have a great collection of pottery if you’re looking for something new for your space.
How to Repot a Plant
Repotting requires more knowledge than simply lifting your plant out and putting it into a new pot, but with these easy steps, you’ll have no problem making sure your houseplant has a smooth transition into a fresh new pot.
1. Prepare Your New Pot
Before you take your plant out of its current home, prepare the new pot by cleaning it out and making sure the drainage holes are clear, then fill the bottom with a few inches of potting soil. We prefer ProMix BX for transplanting because it holds moisture and nutrients for your plant!
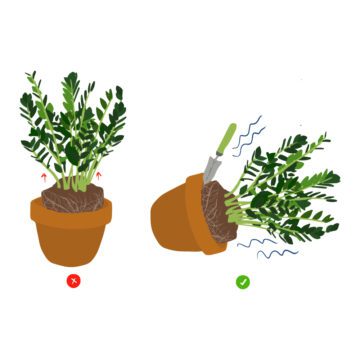
2. Loosen the Plant from the Pot
It’s important to be gentle with this step! Don’t pull on the stem, but support the plant from the base. Gently wiggle the plant, use your trowel to pull it away from the edges of the pot gently, and slowly pull it out.
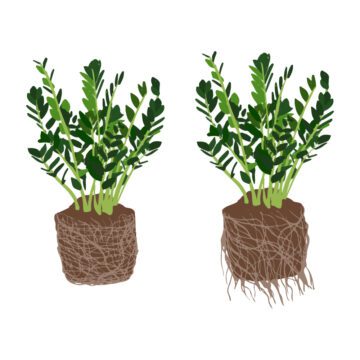
3. Make Sure the Roots are in Good Shape
If your plant’s roots are growing in circles and completely root bound, you’ll need to help it out a little by cutting away any damaged or rotting roots with a sterile knife. Otherwise, you should be able to loosen the root ball with your hands—just be careful not to damage any healthy roots!
4. Settle Your Plant into Its New Pot
Gently lower your plant into the pot, adding soil to support it. Be mindful of the roots and gently pack the soil in. You’ll want to leave a half-inch space from the top of the pot. Make sure that the rootball isn’t too deep—it should be just below the soil surface.
5. Water and Fertilize
Don’t oversaturate the soil, but you’ll want to ensure that your plant has plenty of water available for a couple of weeks so that it can settle into its new home. It’s also good to give it some fertilizer to help it establish. We recommend Thrive by Plant Vitamins to help keep your plants strong.