How to Harvest and Store Seeds From Your Perennial Flowers
Discovering how to harvest and store seeds from perennials is such a gratifying experience. Not only does it save you money, but it’s just so amazing to watch the life cycles of perennial flowers from start to finish. Turn one colourful perennial plant into 100 new plants by learning how to save seeds, and share them with friends and family!
Maximize Your Garden for Free! Just Learn How to Harvest and Store Seeds
One single viola flower can produce around 45 seeds! Considering your plant will bear many flowers in one growing season, it’s safe to say you’ll get a sizable seed harvest. You’ll just need to take the proper steps to collect and store them! Here’s how to do it.
Wait Until the Petals Have Dropped
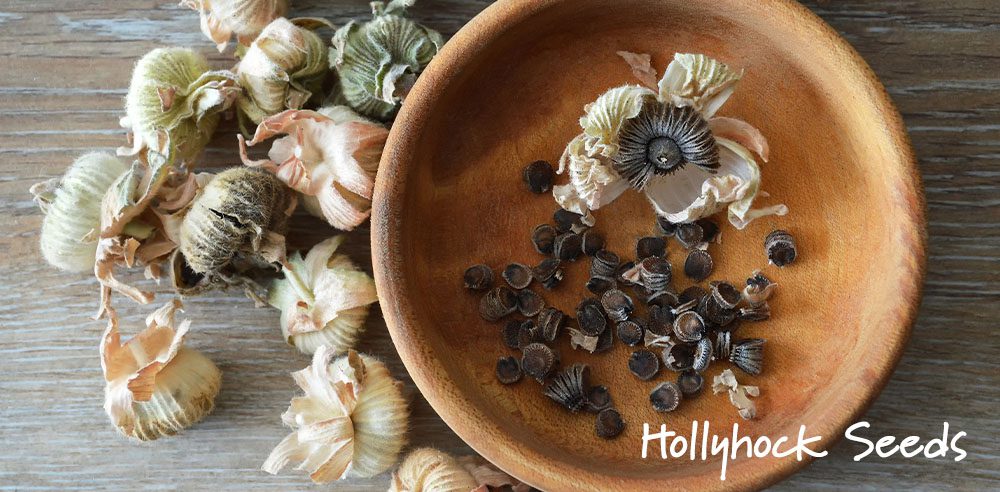
When your perennial blooms have dropped their petals, you’ll see the remaining seed pods. Seed pods look different depending on your chosen perennial varieties, but there are typically many seeds contained within a single pod. Cut off the flower head with a pair of clean, sanitized scissors and bring it inside to collect the seeds.
Remove & Dry the Seed Pods or Seed Heads
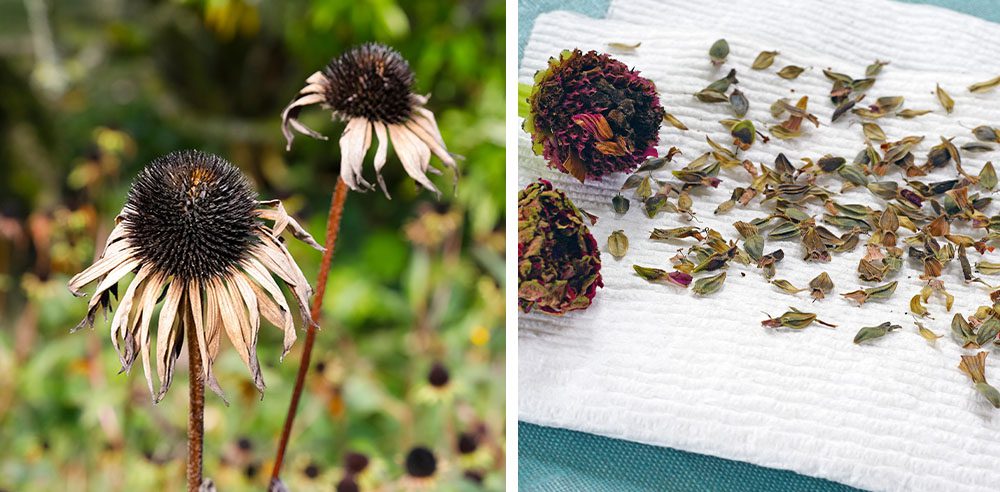
Some perennials, like violas and lupines, produce little pods that contain their seeds. Others, like Black-eyed Susan and coneflower, have seeds packed tightly in their centres.
Collect seed pods and lay them out on a piece of parchment or waxed paper. Wait around one week to allow them to dry properly. Once they’re dry, you can crack open the pods and collect the seeds contained inside.
For perennials with seed heads, there are two ways to harvest their seeds. Remove the seed head and put it in a paper bag for one week to dry out. Some perennials, like coneflowers, will naturally drop their seeds into the bag. Give it a shake to loosen them up, and they’re good to go!
Other perennials like Black-eyed Susan’s have tightly packed seeds, so the process is a bit more complex. Toss the dried seed head into a sealed plastic container or coffee can and give it a good shake for 20 seconds. The seeds will begin to separate from the chaff. Pour the contents through a fine mesh strainer over a paper plate, and the stuff that comes through will be part seed, part chaff. Put it back in the coffee can, but this time, toss in a couple of small rocks or a few metal nuts and bolts. Give it a shake again, then put the remains through your strainer once more over a plate. Now, you’ll have 95% pure seed!
Test Seed Fertility
Not all flower seeds will be fertile, so a good way to check their viability is the water test! Pour them into a cup of water for 15 minutes. The sinkers are fertile, and the floaters are unviable! Collect all the sinkers, allow them to dry on parchment paper for another week, then they’re ready for storage.
Store Your Seeds
A paper envelope is perfect for storing your seeds until next spring! Place them in the envelope, seal them up, and keep the packet in a cool, dry place until you’re ready to start them. You can start your seeds inside to get a head start before the snow melts, or you can directly sow them into the soil once the ground has thawed and the threat of frost has passed.
Creative Craft Idea:Try making some DIY seed paper with your harvested perennial seeds! There are many tutorials online for making plantable paper, and they’re perfect for greeting cards and Valentines! Add natural dyes and cut them into cute shapes, then print out instructions on how to plant them.