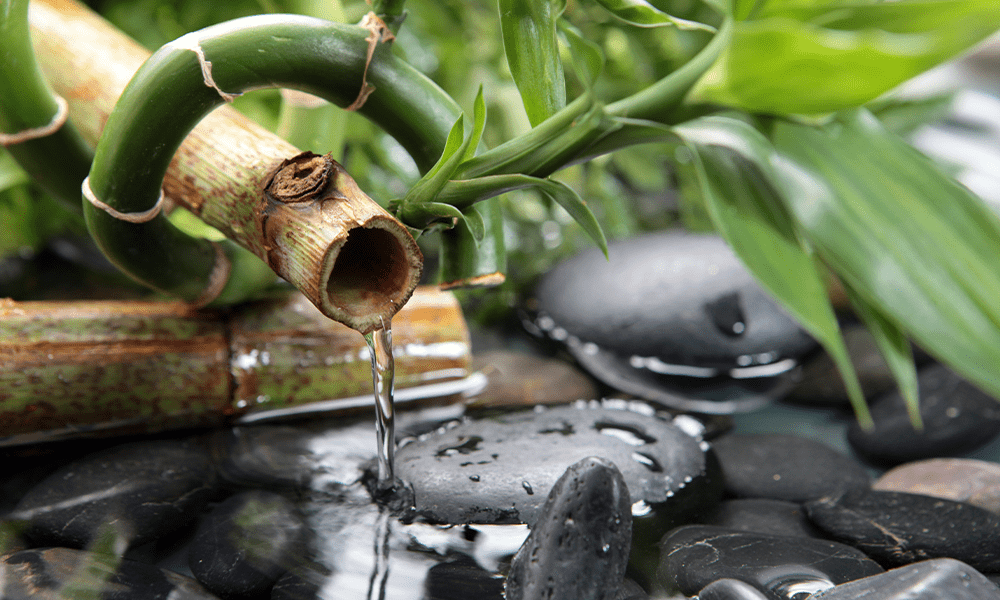
When the weather is hot like this, it’s only natural that we’re drawn to water. Suddenly, you wish you had more friends with swimming pools, and your neighbour’s water feature is looking more enviable than ever. If you’re starting to lean toward adding a pond or fountain to your landscape but you’re not quite ready for the commitment, this homemade tabletop water fountain is for you!
DIY Tabletop Water Fountain: A Great Intro to Water Gardening
Perhaps you’re curious about water gardening but the thought of going all-in with an outdoor pond makes you a little nervous. If so, here’s a fun and easy way to ‘test the waters,’ so to speak! Creating your own miniature water fountain, sized perfectly for your tabletop, is a great way to experiment with water gardening and see if it’s for you. This project is inexpensive, easy to make, and super simple to maintain. Now, let’s dive in!
Materials You’ll Need
You don’t need much to put your tabletop water fountain together. All of these products can be found in-store at Royal City Nursery:
A large, decorative, watertight bowl
Two to five small bags of decorative stones (depending on the depth of your fountain)
A small fountain pump (this 90 GPH pump is perfect for tabletop water fountains)
You’ll be surprised how easy it is to put together your water fountain. Depending on how you want to arrange your materials, it can take as little as ten minutes and up to an hour or so.
Step 1: Place the pump on the bottom of the bowl. If the bowl is quite deep, you may want to place a small upside-down pot or some other kind of riser beneath it, so the nozzle is a touch closer to the surface.
Step 2: Pour decorative rocks into the bowl until most of the pump is hidden and only the nozzle is exposed. You can get creative with how you arrange your rocks (i.e. layering different colours) if you’d like to add some extra visual impact.
Step 3: Fill the bowl until the rocks and pump are completely submerged.
Step 4: Plug in the pump, turn it on, and enjoy the show!
Note: It’s important to ensure the pump is always underwater when it’s running; running the pump dry is not good for it. Your water fountain will need to be topped up with water regularly as it evaporates.
Adding Plants to Your Tabletop Water Fountain
If you want to turn your water fountain into a tabletop water garden, just add plants! Choose a small selection of aquatic plants (1-3 plants is plenty for a small garden like this) and ensure your bowl has enough room and depth for your plants’ pot size.
Keeping your plants in their nursery pots, nestle them under the water and cover the pots with your decorative stones. The stones will conceal the pots and help to weigh everything down. As your plants grow over time, repot them periodically into pond-friendly pots (going up no more than one size at a time) and use a quality water garden potting mix.
Ideally, your plants should sit as far from the pump as possible to prevent the plant material from getting sucked up into the mechanism. The result will be a serene-looking tabletop water garden with a pleasant fountain detail!
Depending on the needs of your plants, your water garden may need to be kept outside in a sunny spot, such as the centre of your patio dining table. Make sure to chat with our Guelph water gardening specialists about your plans for your water feature (especially if it’s your first rodeo!), so we can make recommendations about the products, maintenance routine, and plants that will work best for you. Get in touch in-store or shop online for more water gardening inspiration!